DIY Shaker Card: A Step-by-Step Guide to Create Your Own Special Keepsake
As a crafty enthusiast, I’ve always been drawn to the intricate beauty of shaker cards. These enchanting creations, with their free-moving embellishments suspended between transparent layers, have a captivating allure that’s hard to resist. Eager to share this joy with others, I invite you to embark on an exciting DIY adventure with this comprehensive guide to crafting your own stunning shaker card.
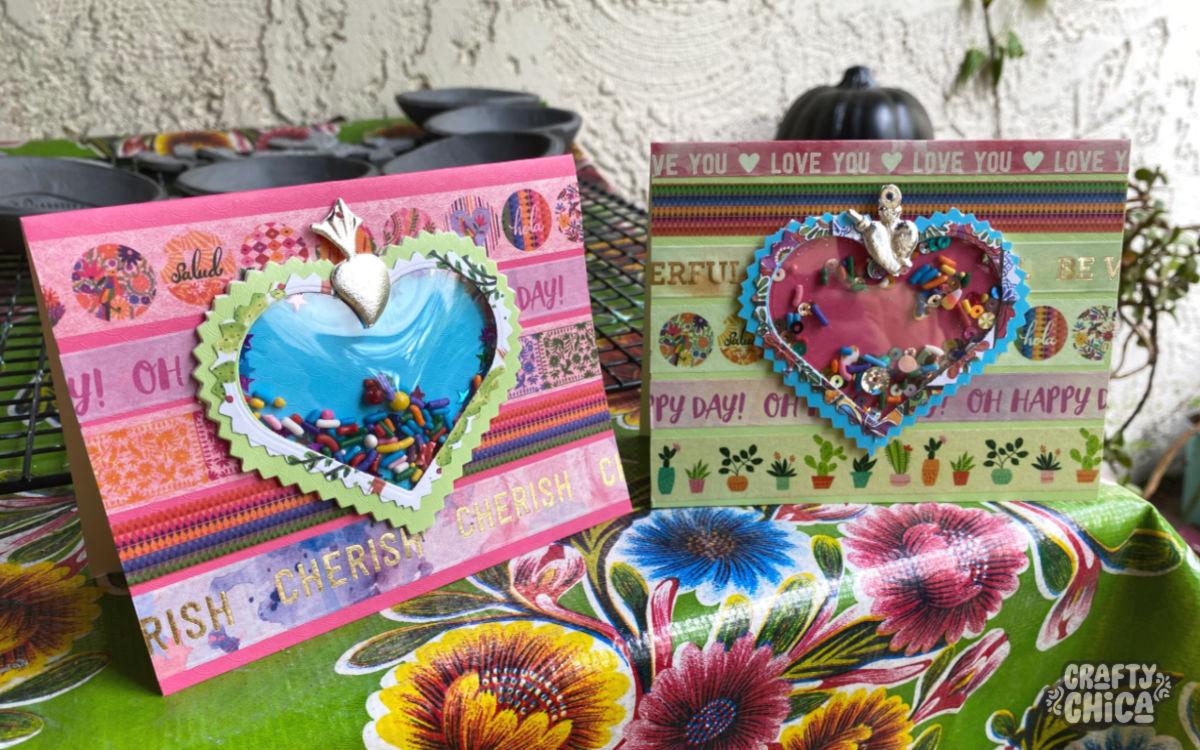
Shaker cards, also known as confetti cards, are a unique form of papercraft that incorporates a transparent pocket filled with tiny embellishments like sequins, beads, or confetti. When the card is tilted or shaken, these embellishments move freely, creating a vibrant and dynamic effect. With a little patience and creativity, you can create your own personalized shaker card that will delight your friends and family.
Materials You’ll Need:
- Cardstock (in your desired colors)
- Clear acetate sheet
- Craft foam (thin)
- Embellishments (sequins, beads, confetti)
- Foam mounting tape
- Adhesive (liquid glue or double-sided tape)
- Scissors
- Ruler or scoring tool
- Craft knife (optional)
Step-by-Step Instructions:
1. Create the Card Base
Begin by cutting two pieces of cardstock to the desired size of your card. These pieces will form the front and back of the card. Score and fold one piece of cardstock in half to create the base.
2. Cut the Acetate Window
Next, measure and cut a piece of clear acetate sheet slightly smaller than the front of the card. This will create the window through which the shaker elements will be visible.
3. Create the Shaker Pocket
Cut two pieces of craft foam to the same size as the acetate window. These pieces will form the top and bottom of the shaker pocket. Use foam mounting tape to attach one piece of foam to the back of the acetate sheet.
4. Fill the Shaker Pocket
Now, it’s time to add your desired embellishments to the shaker pocket. Generously fill the pocket with sequins, beads, or confetti, taking care not to overfill it.
5. Seal the Shaker Pocket
Place the remaining piece of foam on top of the filled pocket and secure it with foam mounting tape. This will create a sealed pocket that holds the embellishments in place.
6. Attach the Acetate Window
Use liquid glue or double-sided tape to attach the acetate window to the front of the card base, making sure that the shaker pocket is centered.
7. Decorate the Card
Finally, decorate the front of the card with embellishments, patterned paper, or stamps to create your own unique design. Your imagination is the only limit.
Tips and Expert Advice:
Here are a few additional tips to help you create a perfect shaker card:
- Use thin craft foam for the shaker pocket to prevent the card from being too bulky.
- If you don’t have foam mounting tape, you can use thin strips of double-sided tape instead.
- To create a custom shaker mix, combine different embellishments in various shapes and sizes.
- Don’t be afraid to experiment with different cardstock colors and textures to create unique effects.
Frequently Asked Questions (FAQs):
Q: What is the best type of embellishment to use in a shaker card?
A: Any small, lightweight embellishments can be used, such as sequins, beads, glitter, or confetti.
Q: How do I prevent the embellishments from moving too much or too little?
A: The thickness of the foam and the amount of embellishments will affect how much the embellishments move. Experiment with different thicknesses and amounts until you achieve the desired effect.
Q: Is it possible to make a shaker card without clear acetate?
A: Yes, you can use other transparent materials such as vellum or cellophane, but acetate is the clearest and most durable option.
Conclusion:
Crafting a DIY shaker card is a rewarding experience that combines creativity and precision. With a little patience and attention to detail, you can create a stunning masterpiece that will be cherished by you and your loved ones. Whether you’re new to papercraft or an experienced crafter, I encourage you to give shaker cards a try. Happy crafting!
Are you interested in learning more about DIY shaker cards or papercraft in general? Let us know in the comments below, and we’ll be happy to provide additional resources and inspiration.
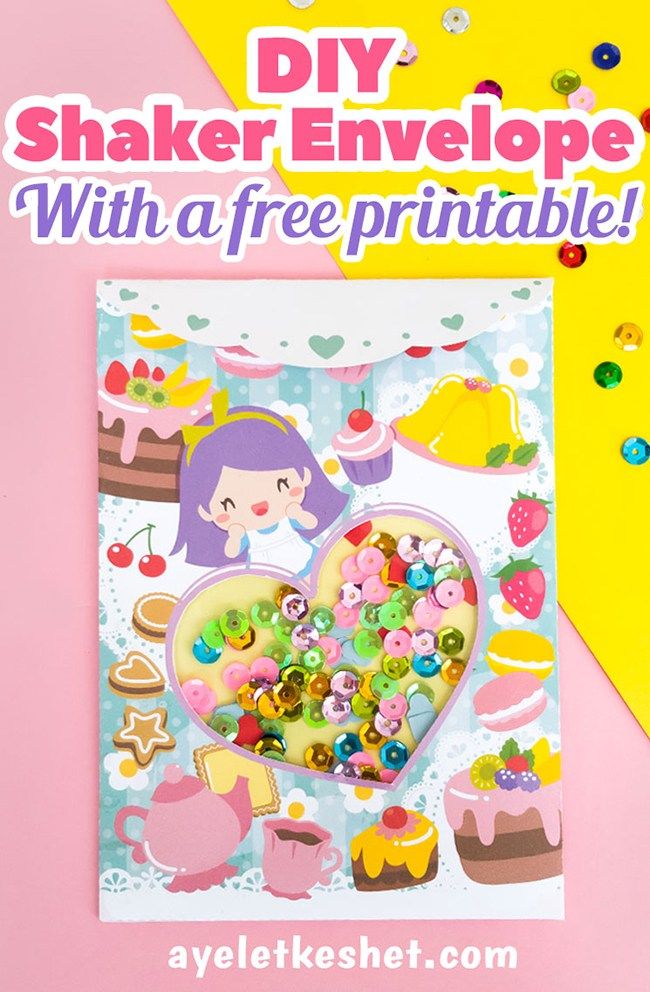
Image: www.pinterest.com